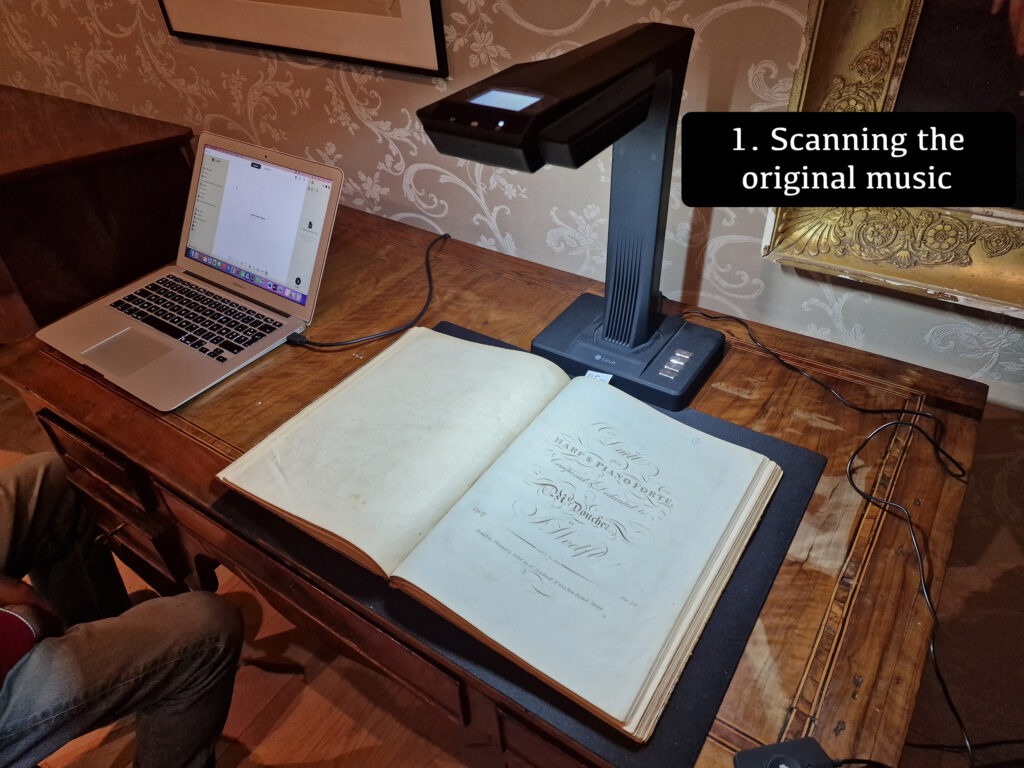
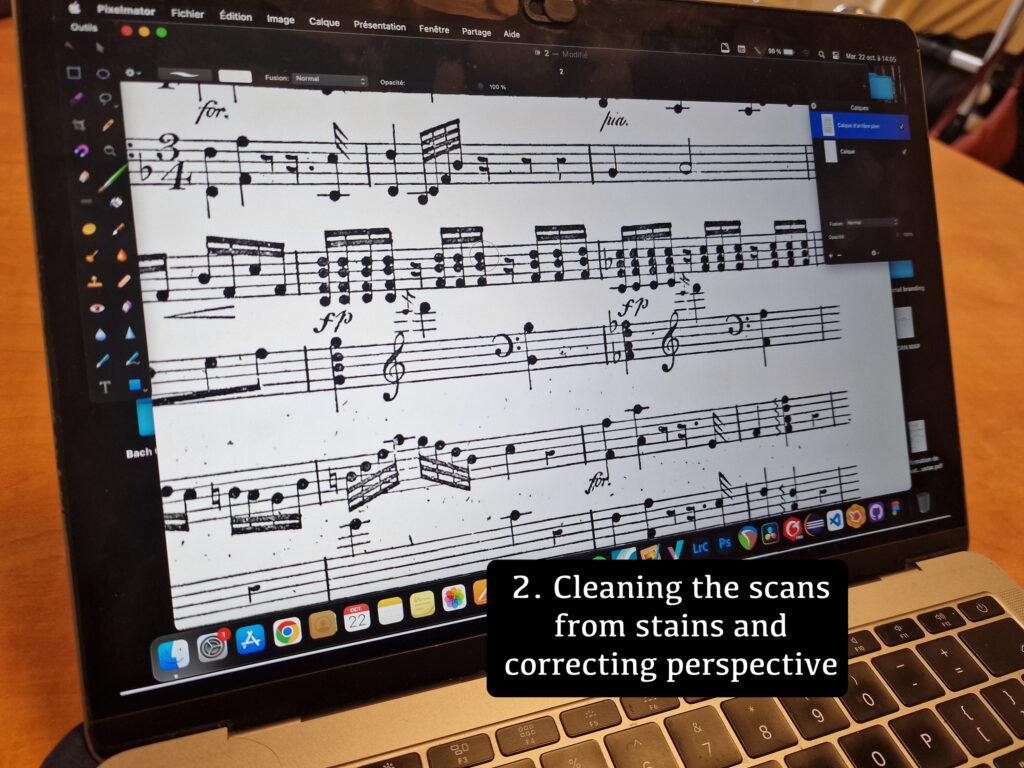
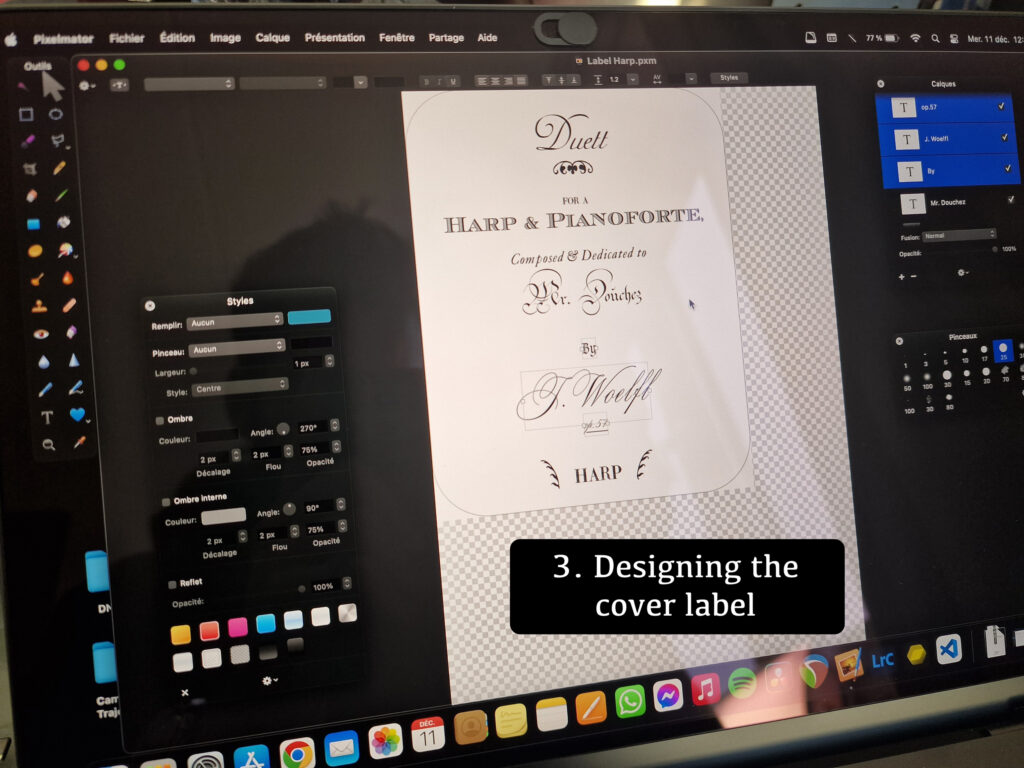
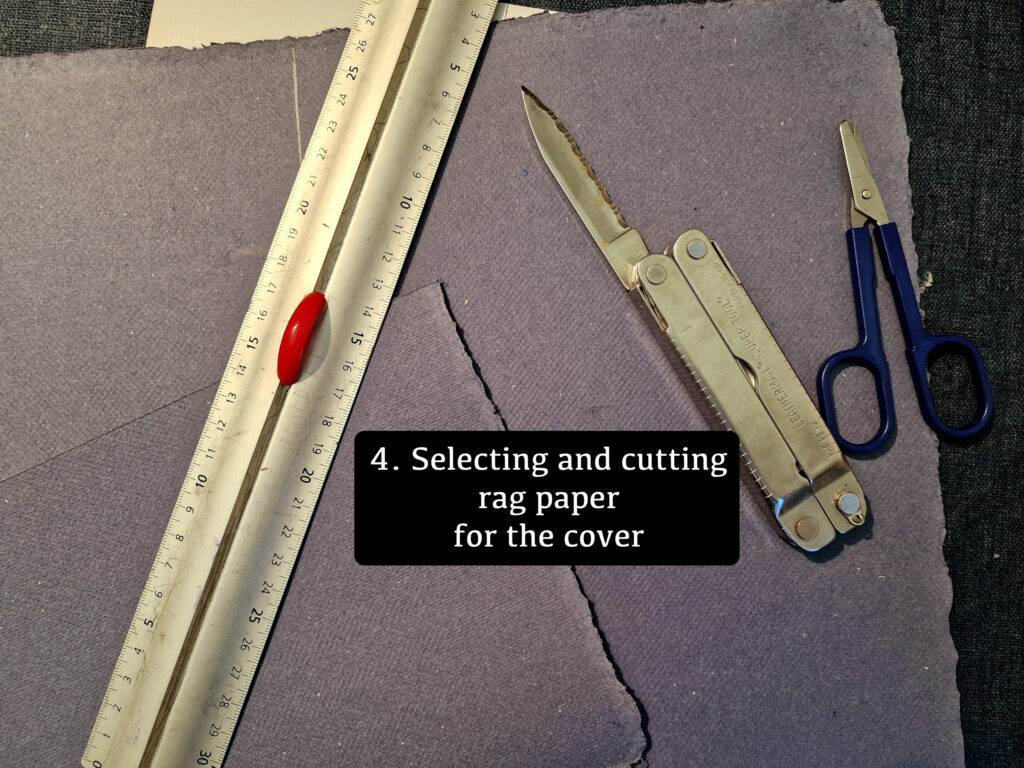
Here are some photos taking you through the steps of the making, using the last facsimile I made.
- Scanning. The original music is scanned using a flat scanner on the location of the collection.
- Treating (optional). The scans are cleaned from all stains, imperfections and texture that may have been picked-up. Perspective is also corrected when needed, as it is not always possible to get a flat scan right from the start.
- Design. A nice label is designed after the original cover, using fonts inspired from the period. I usually translate the titles to English.
- Cutting the cover. I select sheets of a Dutch rag paper hand-made in a windmill (“Zaansch Bord”) for the front and back of the facsimile, and cut it to appropriate size. Rough edges are left untouched for a more historical touch.
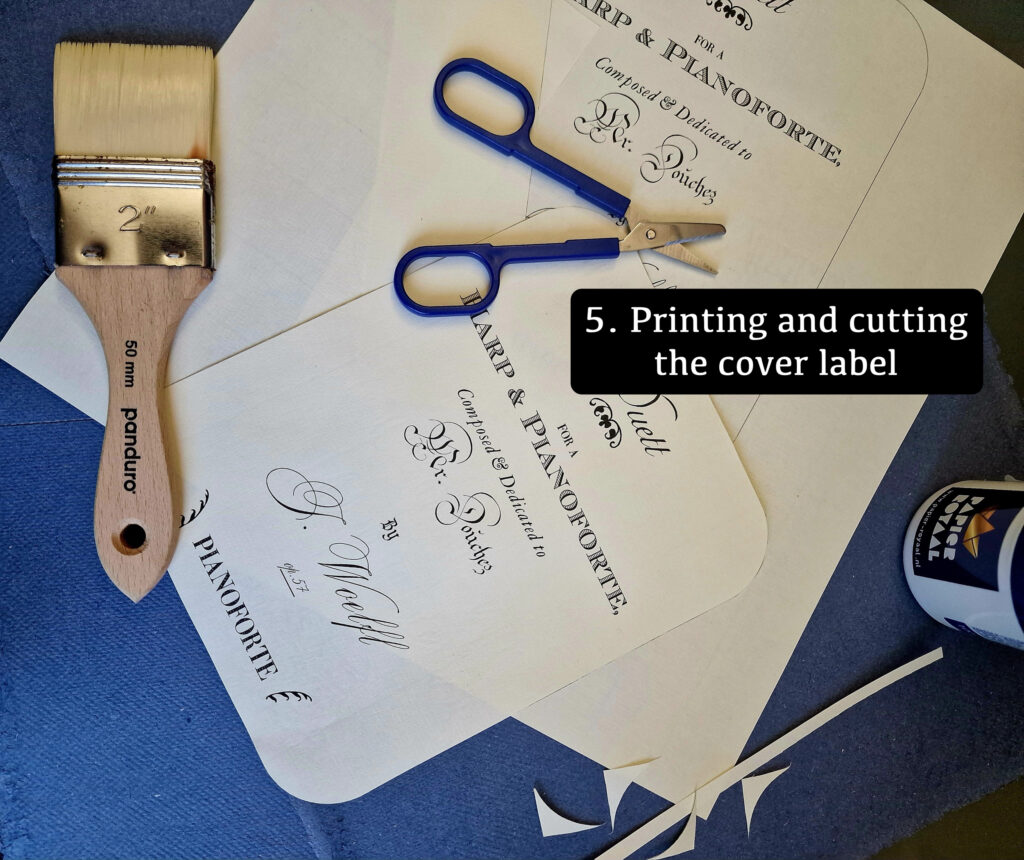
- Printing the label. I print the label designed earlier and cut it by hand into a nice shape for the front cover.
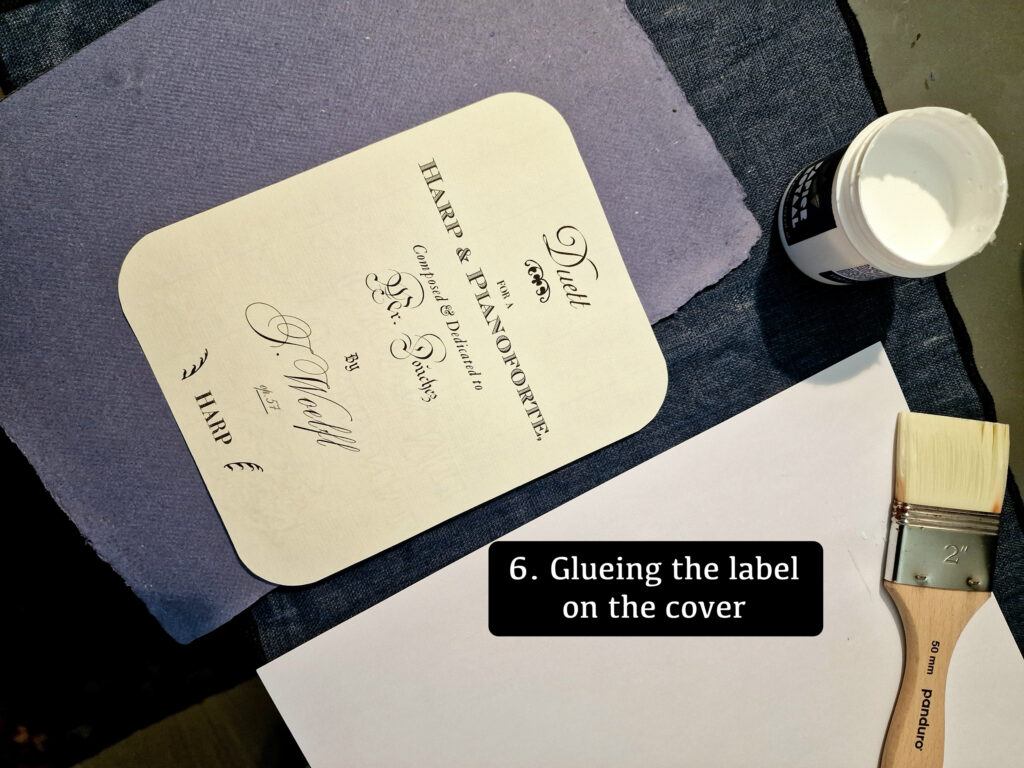
- Making the front cover. I glue the label on a sheet of rag paper. This requires a special glue and a surgical precision to make sure the label is straight and without any air bubble. The cover is then left under heavy weights for an hour to make sure the label sticks evenly and that the rag paper does not bend.
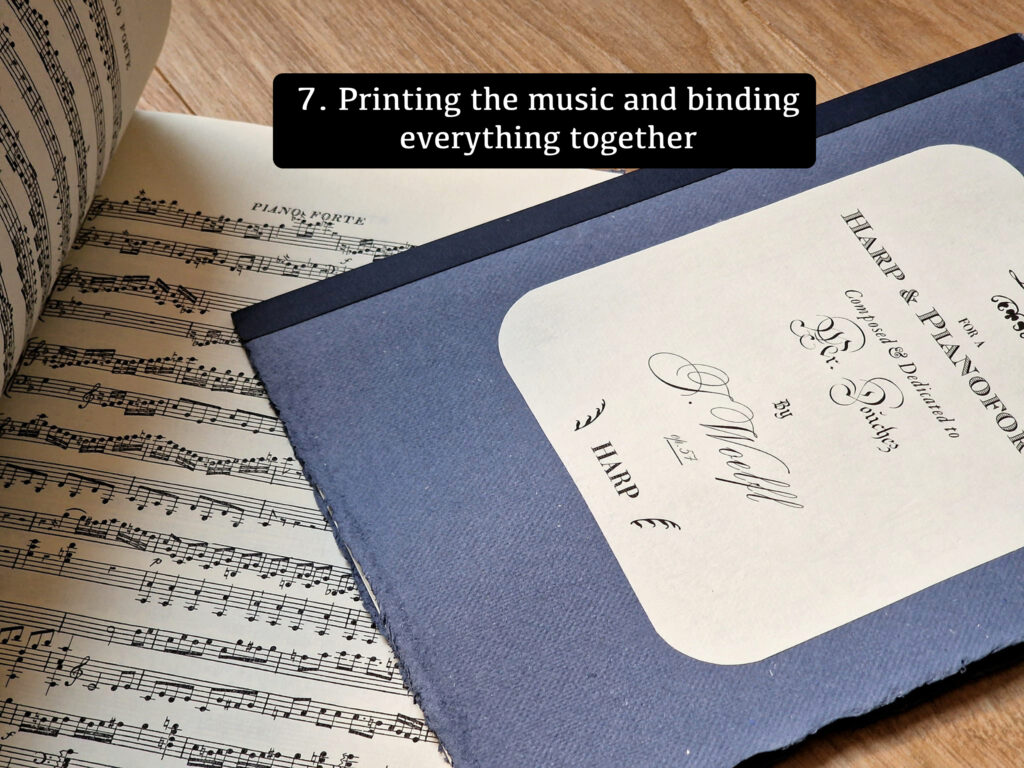
- Assembling. The (treated) scans are printed on laid paper, and everything is bound together using a simple method, glueing a band of linen on the back.
